

 storagearts.com
 Introduction: Your DIY Storage Solution Are you tired of clutter overwhelming your yard? A small storage shed can be the perfect solution to keep your tools, gardening supplies, and seasonal decorations organized. This guide provides a step-by-step approach to building your own 182+ cubic foot storage shed, offering ample space without dominating your outdoor area. Before starting, always check your local building codes and regulations to ensure compliance.
Step 1: Planning and Preparation Before you swing a hammer, careful planning is crucial. Determine Size and Design: A shed with dimensions around 6ft x 4ft x 7ft (height) will provide approximately 182 cubic feet of storage. Consider the items you need to store and design the shed accordingly. Draw a detailed sketch or use online shed design software. Gather Materials: Common materials include pressure-treated lumber for the base, framing lumber (2x4s), plywood or OSB for sheathing, roofing materials (shingles or metal), siding (wood, vinyl, or metal), nails, screws, hinges, a door, and optional windows. Create a comprehensive materials list based on your design. Acquire Tools: Essential tools include a circular saw, miter saw (optional but helpful), drill/driver, level, measuring tape, hammer, safety glasses, work gloves, and a square. Prepare the Site: Choose a level location for your shed. Clear the area of vegetation and debris. You might need to create a gravel base for drainage and stability. Compacting the soil and gravel is recommended.
Step 2: Building the Foundation A solid foundation is the bedrock of your shed's longevity. Construct the Base Frame: Use pressure-treated 4x4 lumber to build a rectangular frame matching your shed's dimensions. Ensure the corners are square and securely fastened with screws designed for outdoor use. Add Joists: Install floor joists (typically 2x4s) within the frame, spaced 16 inches apart. This provides support for the floor. Fasten them securely to the perimeter frame. Sheathe the Floor: Cover the frame with plywood or OSB, creating a solid floor. Secure the sheathing to the joists with nails or screws.
Step 3: Framing the Walls Wall framing defines the structure of your shed. Build Wall Frames: Construct each wall frame separately. Use 2x4 lumber to create the top plate, bottom plate, and studs. Space the studs 16 inches apart, centering them for adequate support. Include framing for the door opening and any windows. Raise and Secure the Walls: Carefully raise each wall frame and plumb it with a level. Temporarily brace the walls to hold them in place. Attach the walls to the foundation using appropriate fasteners. Join the corners of the walls securely.
Step 4: Installing the Roof The roof protects your shed from the elements. Build Rafters or Trusses: Construct rafters or trusses to support the roof. You can build your own rafters or purchase pre-made trusses for ease of installation. Ensure they are appropriately sized for your shed's span and local snow load requirements. Install the Rafters/Trusses: Attach the rafters or trusses to the top plates of the walls, ensuring they are evenly spaced and securely fastened. Sheathe the Roof: Cover the rafters or trusses with plywood or OSB sheathing. Secure the sheathing with nails or screws, leaving a small gap between sheets to allow for expansion and contraction. Install Roofing Material: Install roofing felt or underlayment to protect the sheathing from moisture. Then, install your chosen roofing material (shingles or metal) according to the manufacturer's instructions.
Step 5: Adding Siding and Trim Siding and trim add weather protection and aesthetic appeal. Install Siding: Apply your chosen siding material to the exterior walls, following the manufacturer's instructions. Overlap siding panels appropriately to prevent water intrusion. Install Trim: Add trim around the door, windows, and corners to conceal gaps and provide a finished look.
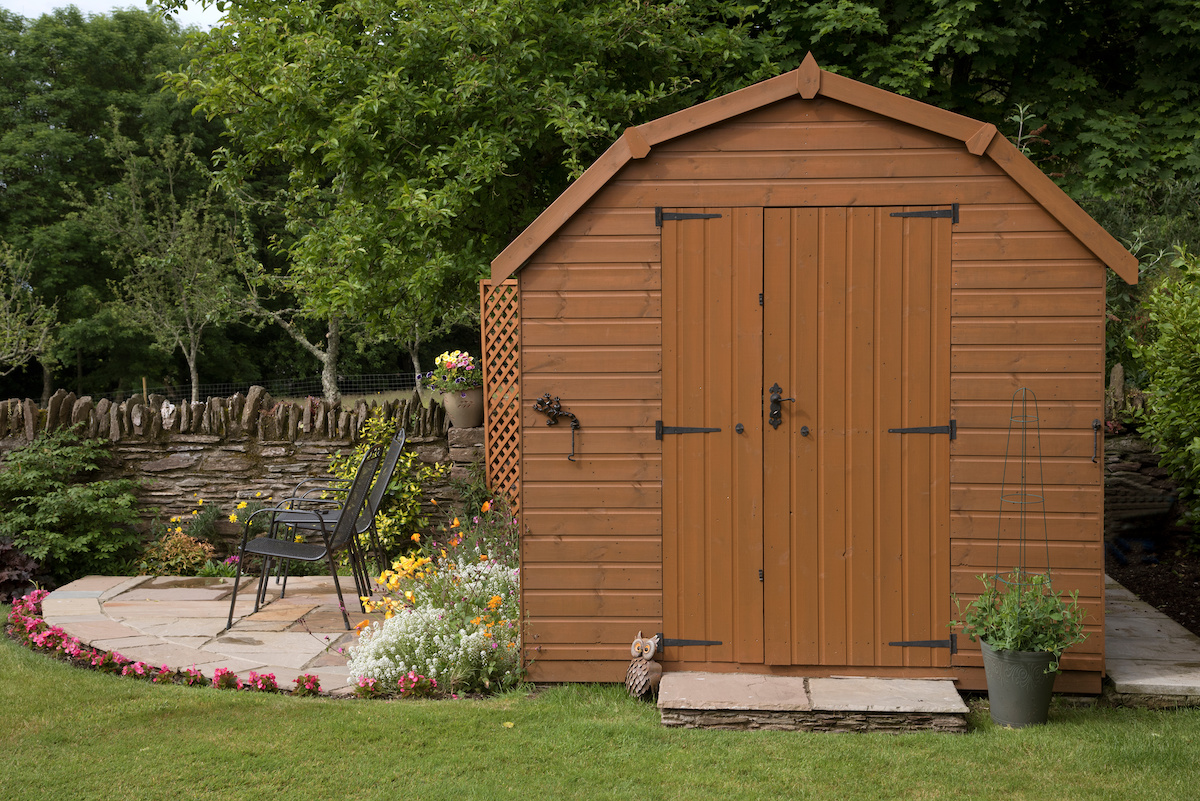
Step 6: Installing the Door and Windows (Optional) The door provides access, and windows add light and ventilation. Install the Door: Hang the door in the framed opening, ensuring it swings freely and closes properly. Install hinges and a latch or lock. Install Windows (Optional): If you're adding windows, install them according to the manufacturer's instructions. Seal around the windows to prevent leaks.
Step 7: Finishing Touches The final touches make your shed functional and aesthetically pleasing. Paint or Stain: Paint or stain the shed to protect the wood and enhance its appearance. Add Shelving (Optional): Install shelving to maximize storage space inside the shed. Landscaping (Optional): Enhance the area around the shed with landscaping to blend it seamlessly into your yard.
Conclusion: Enjoy Your New Storage Shed Congratulations! You've successfully built your own 182+ cubic foot storage shed. With proper planning, construction, and maintenance, your shed will provide years of reliable storage and organization, decluttering your yard and simplifying your life. Remember to regularly inspect your shed for any signs of damage or wear and tear, and perform necessary repairs promptly.
Building A Small Storage Shed
storagearts.com The Best Small Storage Shed For Your Backyard
 minnetonkaorchards.com
 The Best Small Storage Shed For Your Backyard
 minnetonkaorchards.com

0 komentar:
Posting Komentar